2種類のバラの彫り方
概要
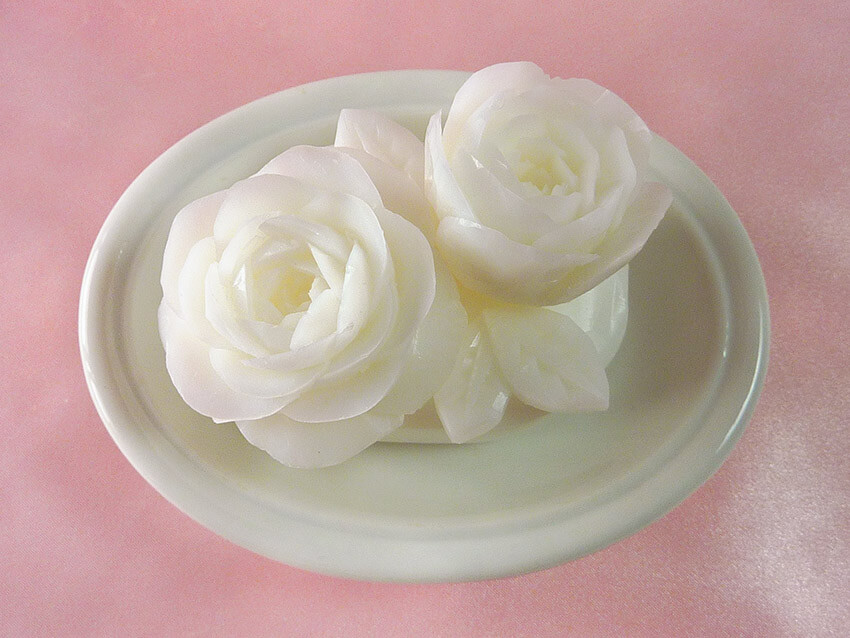
- 切り出しのバラのソープカービングでよく使われる彫り方を2種類ご紹介します。
- フラワーアレンジメントにしたり、手作りのプレゼントを作ったりするさいに、切り出しのバラはとても役にたつソープカービングです。
- 難易度: 初級~中級
材料と用具
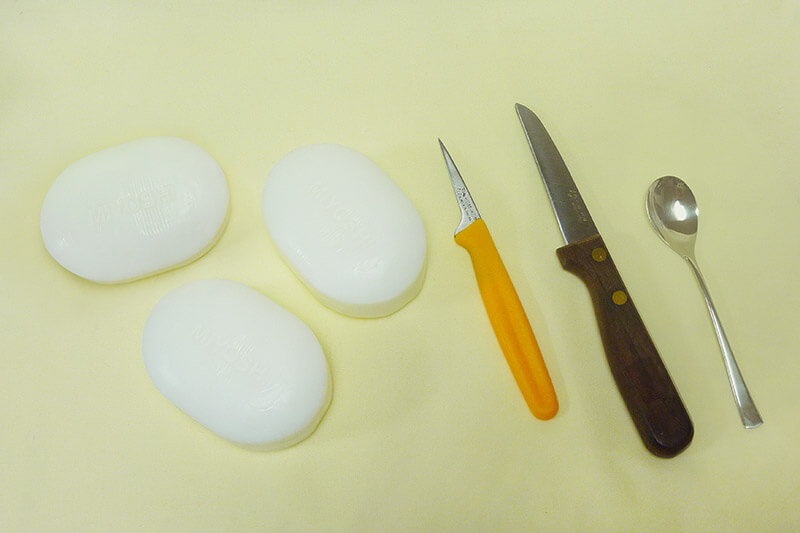
- 石鹸3個
- カービングナイフ
- ペティナイフ
- スプーン
石鹸について
暮らしのせっけん バスソープ
彫り方説明で使用
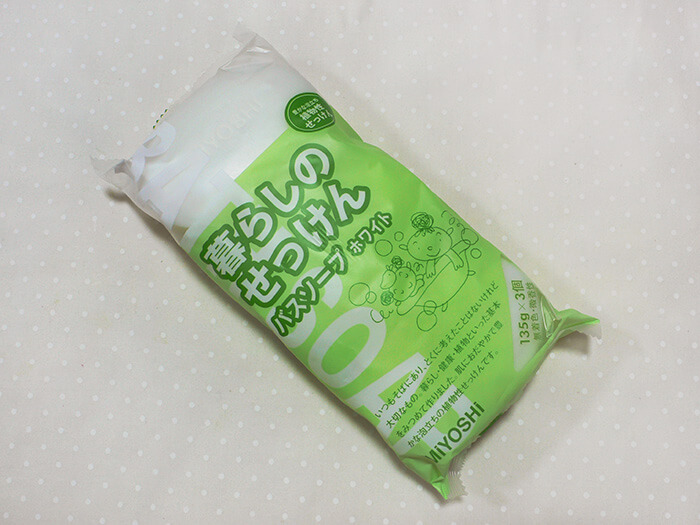
- 店頭やネットで購入可能
- お花の香り
- サイズ: 8.5 cm x 6 cm x 3.3 cm
- 重さ: 135 g
やり方解説動画
やり方
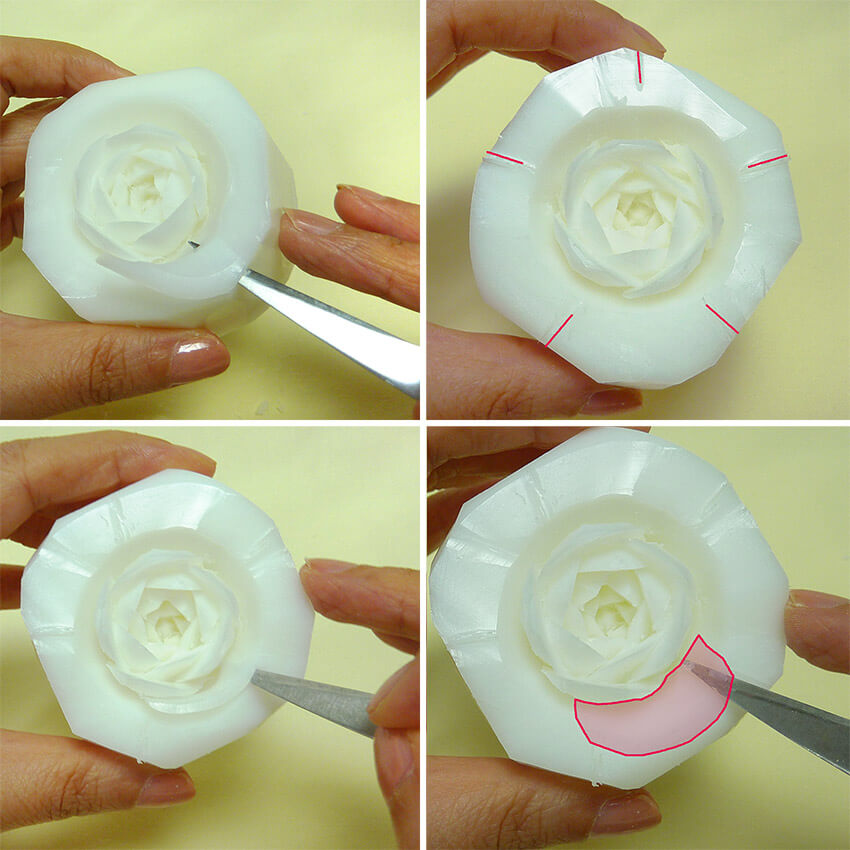
彫り方 1: 外側の花びらから彫る切り出しのバラ
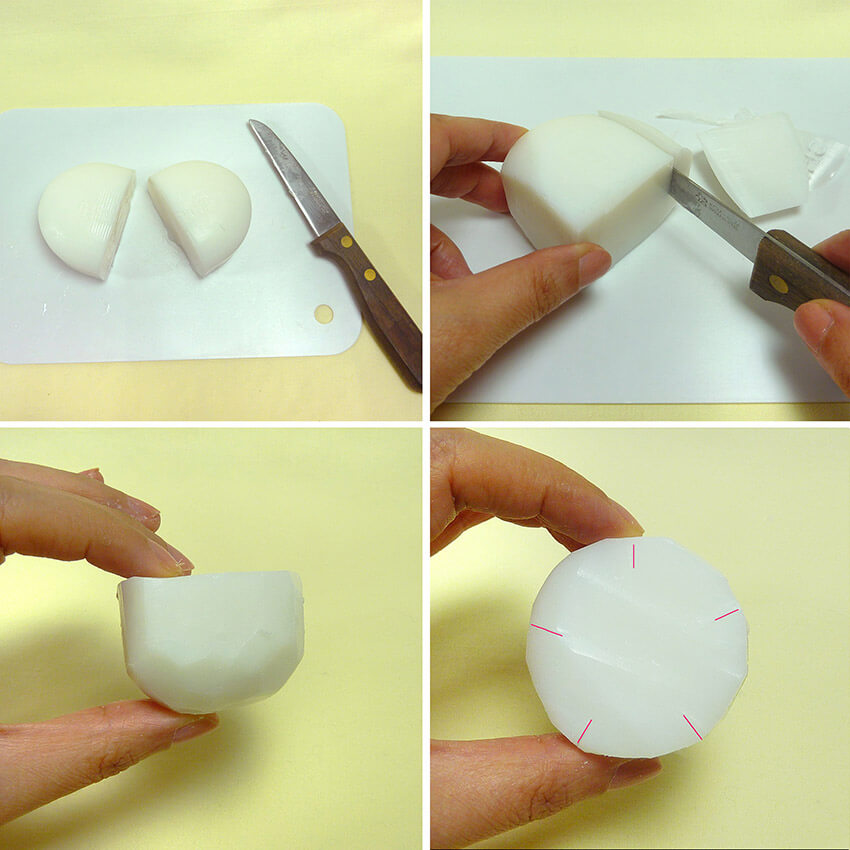
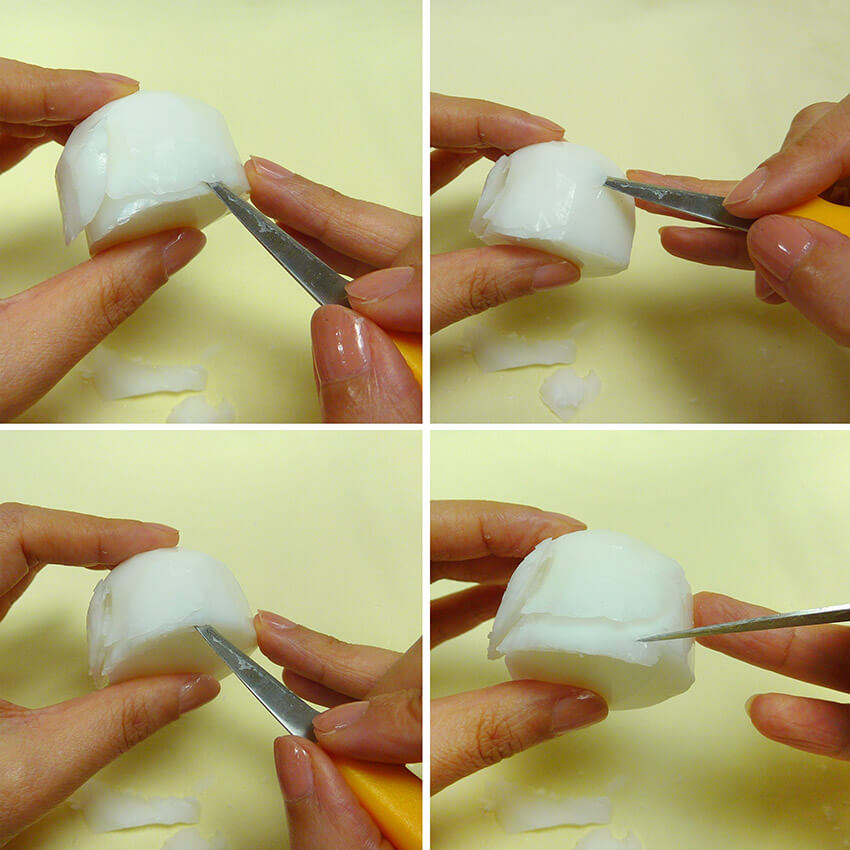
ナイフの先で、石鹸の周りに5等分の印を付けます。
外側の花びらが1枚彫れました。
2枚目の花びらは、1枚目の花びらと少し重なるように彫ります。
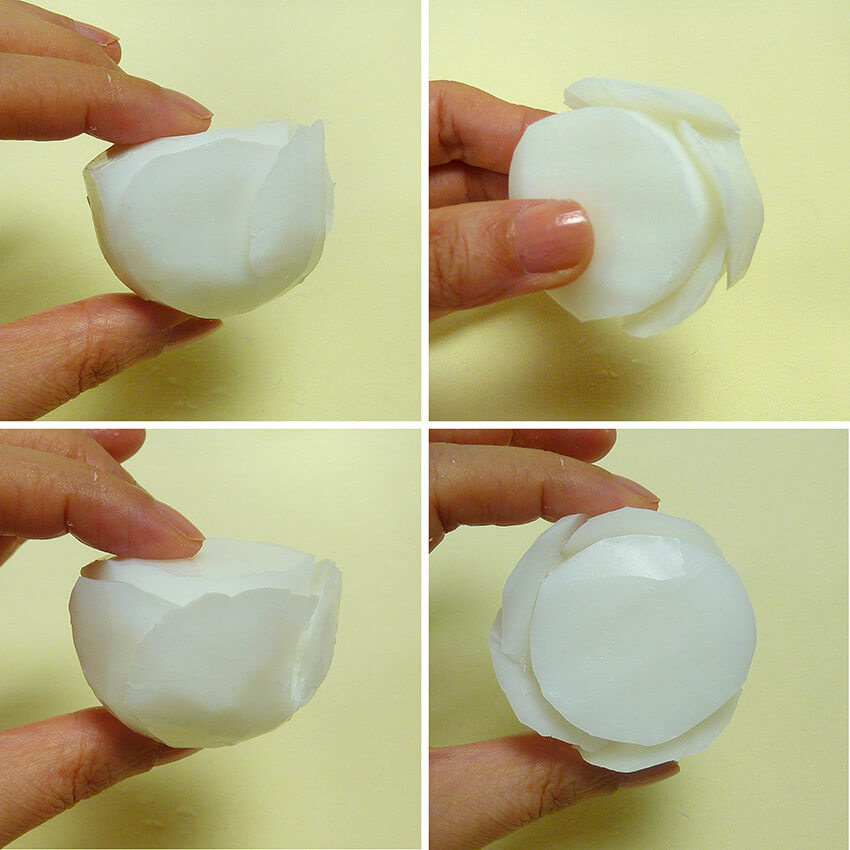
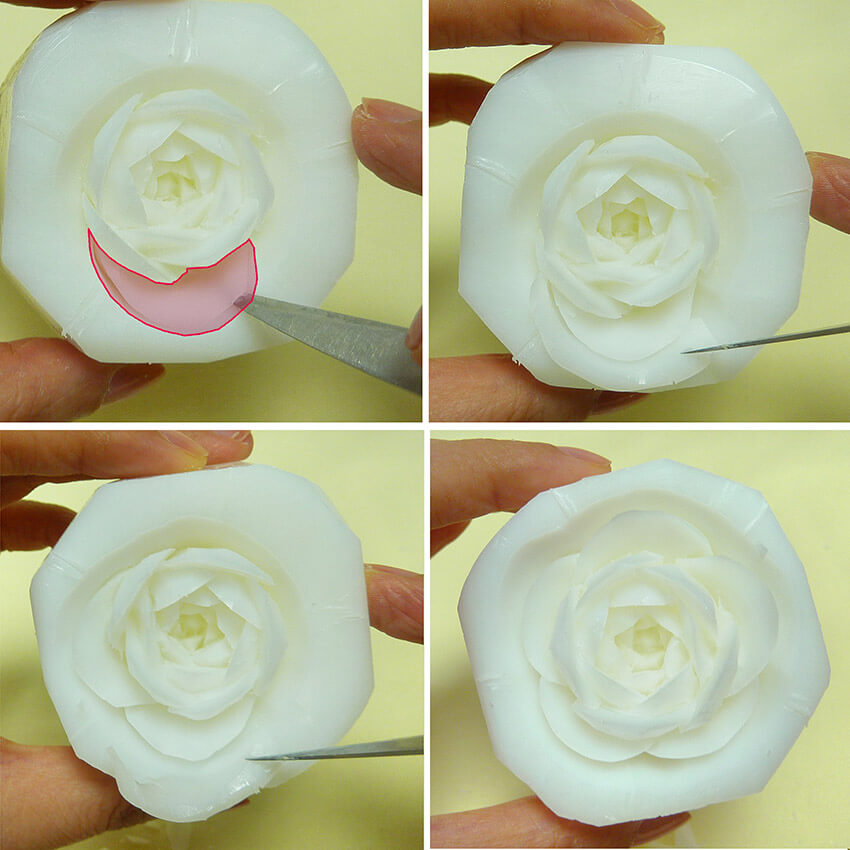
中心部分の縁を少し丸く削りします。※ドーム型になるほど縁を削らないこと。また、ぐるりと横に削らないで、中心から外側に向かって削るようにします。
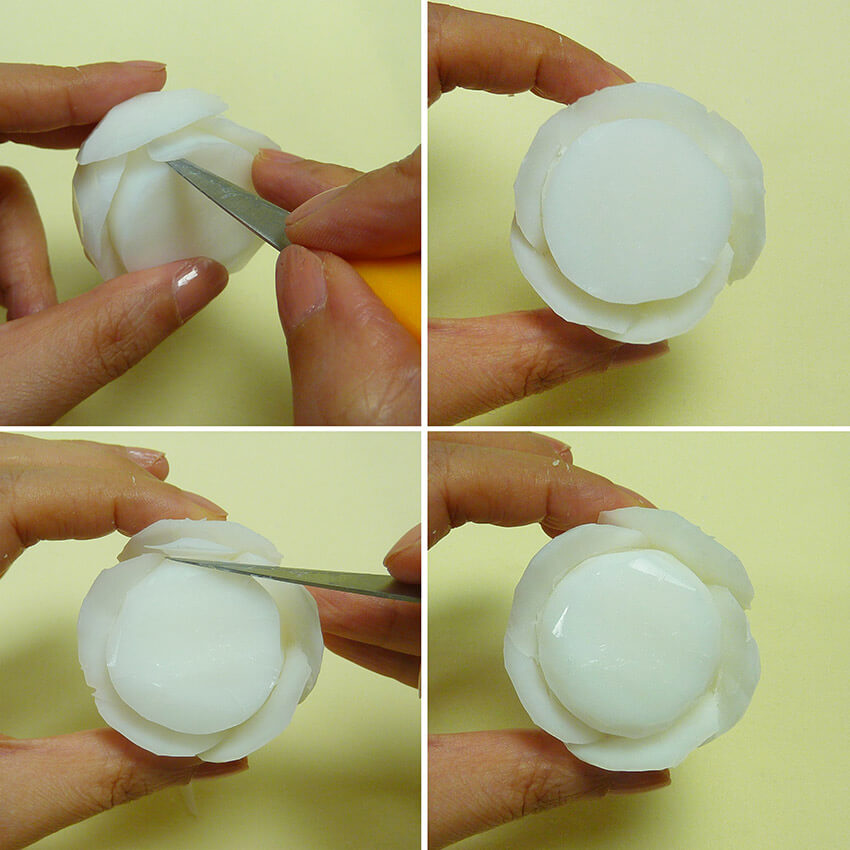
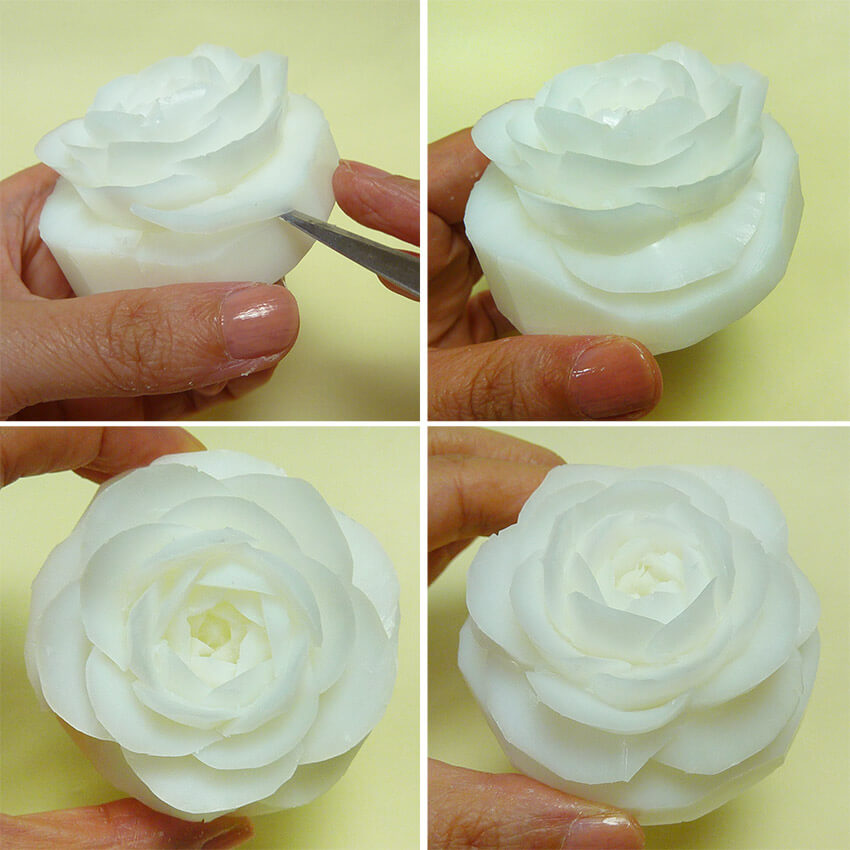
1枚目の花びらは、1周目の1枚目と5枚目の花びらの間から彫り始めます。
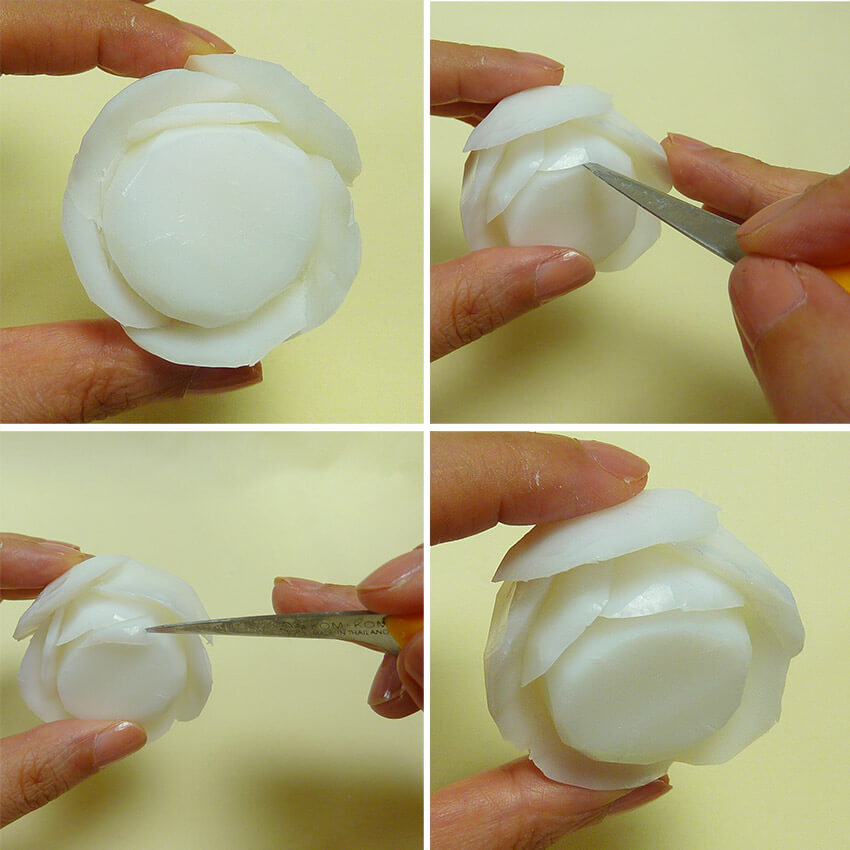
そして、同様に3周目の花びらを5枚彫ります。
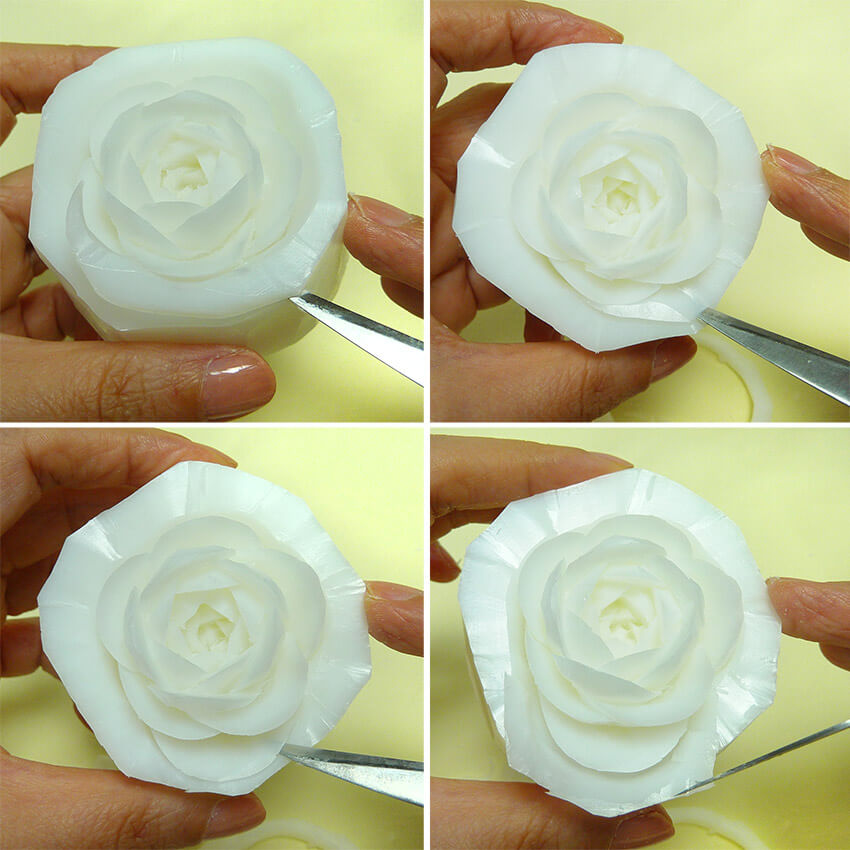
そして、4周目の花びらを5枚彫ります。
花びらの外側を少し削って形を整えます。切り出しのバラができました。
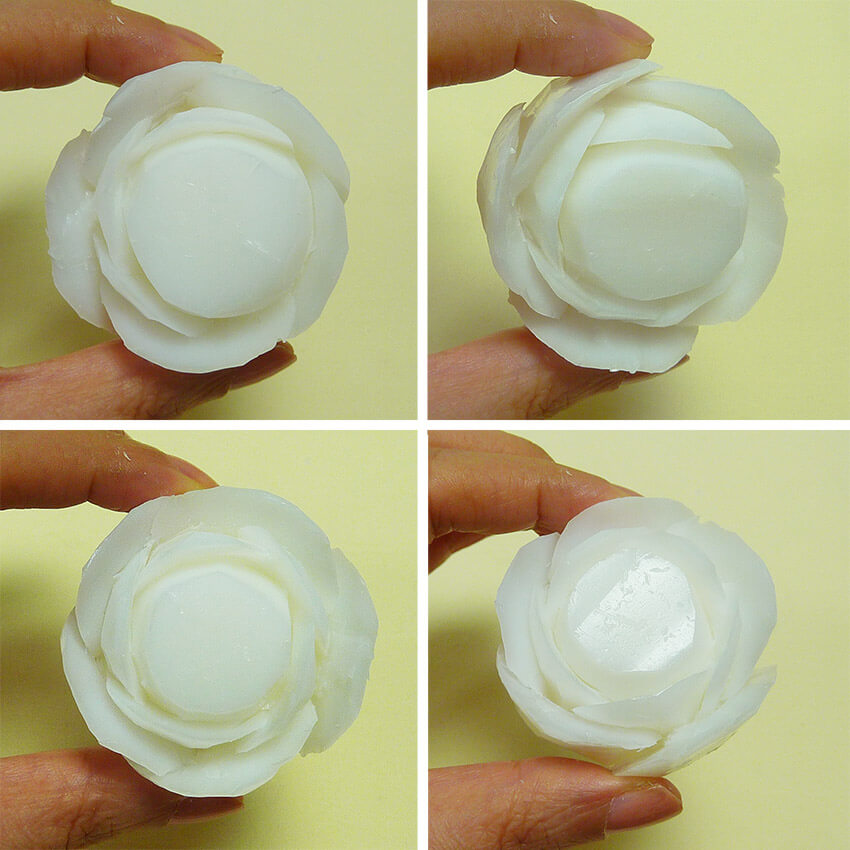
彫り方 2: 花芯から彫る切り出しのバラ
石鹸が厚すぎる場合は、少し削って薄くします。.
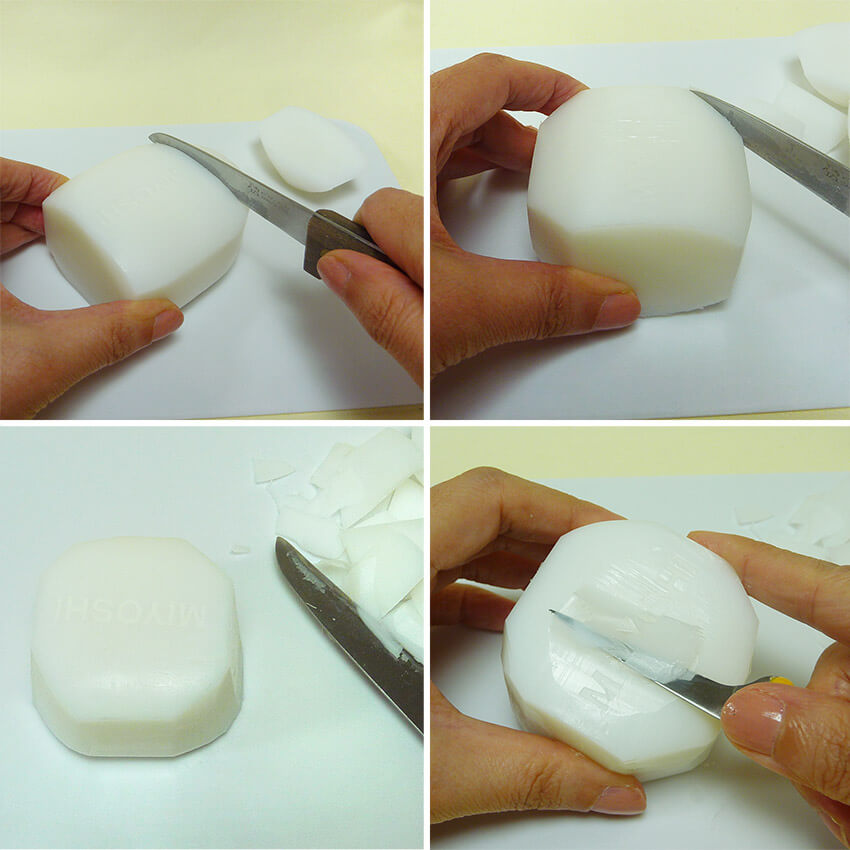
石鹸に対してナイフをまっすぐ立てて持ち、円の下書きに沿って深く切込みを入れます。
そして、切込みの周囲の石鹸を一周薄くカットして取り除き、円柱にします。
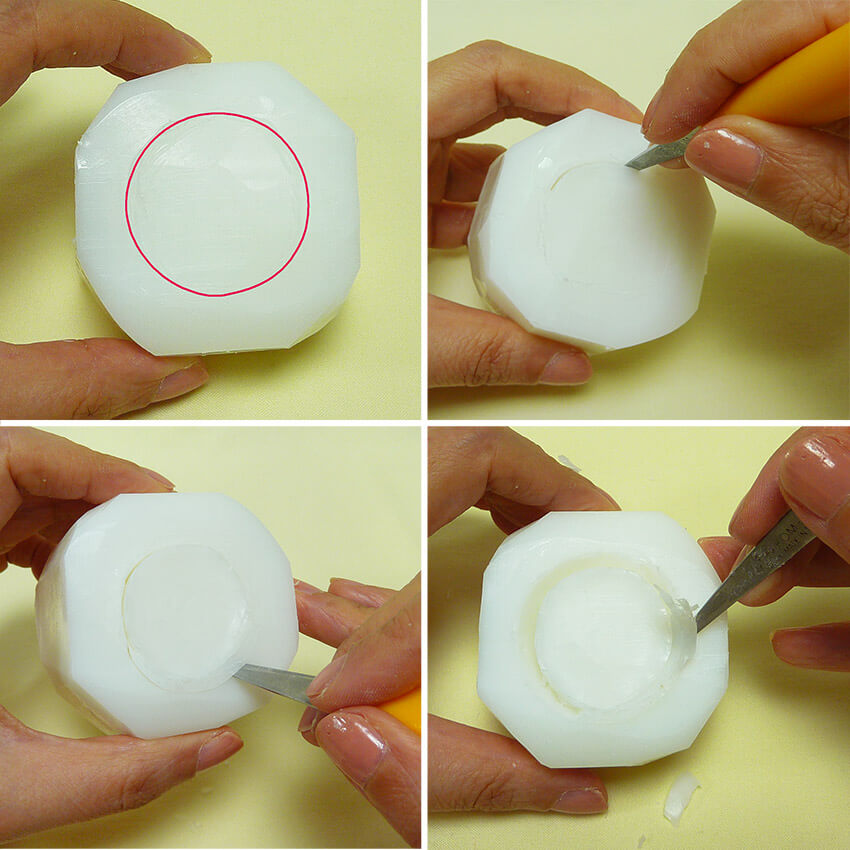
円柱の縁を少し削って丸くします。※ドーム型になるほど縁を削らないこと。また、ぐるりと横に削らないで、中心から外側に向かって削るようにします。
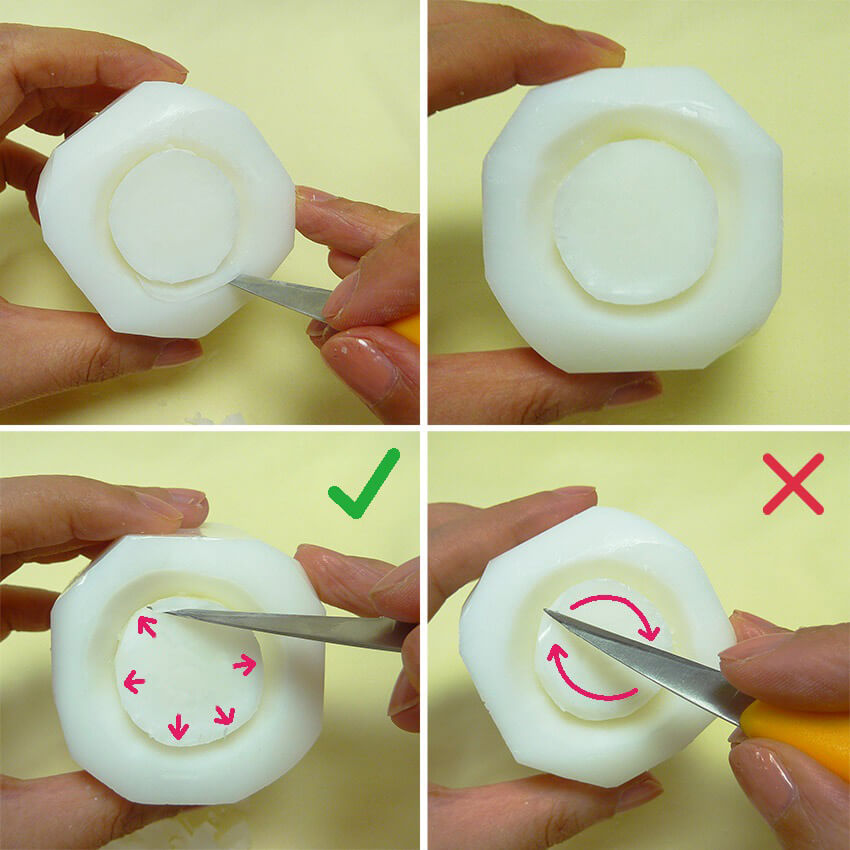
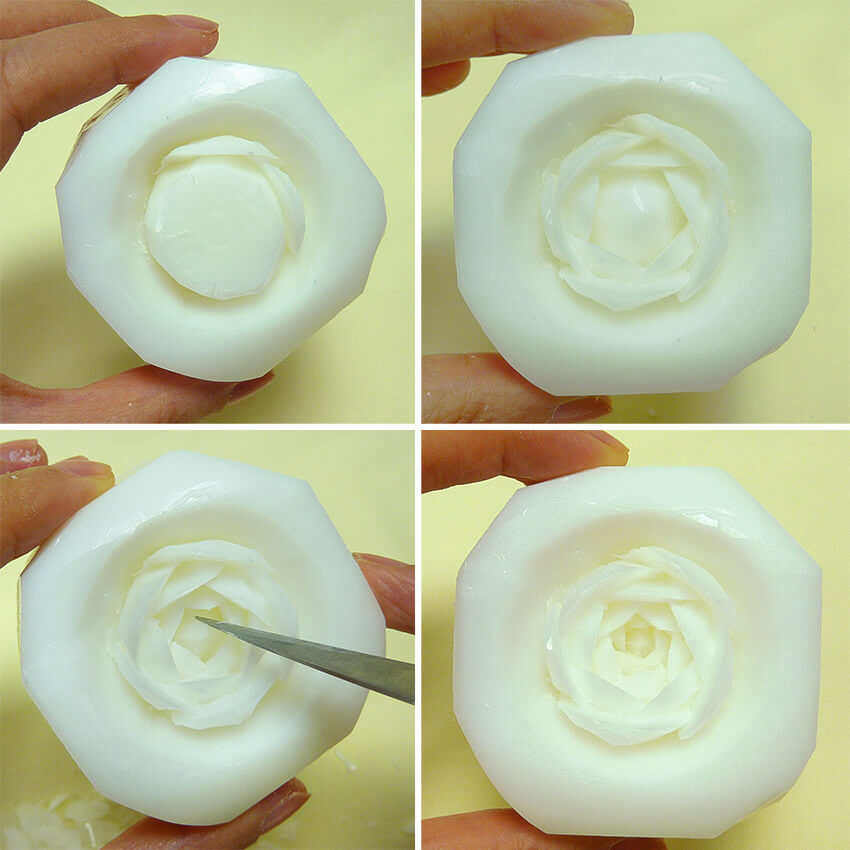
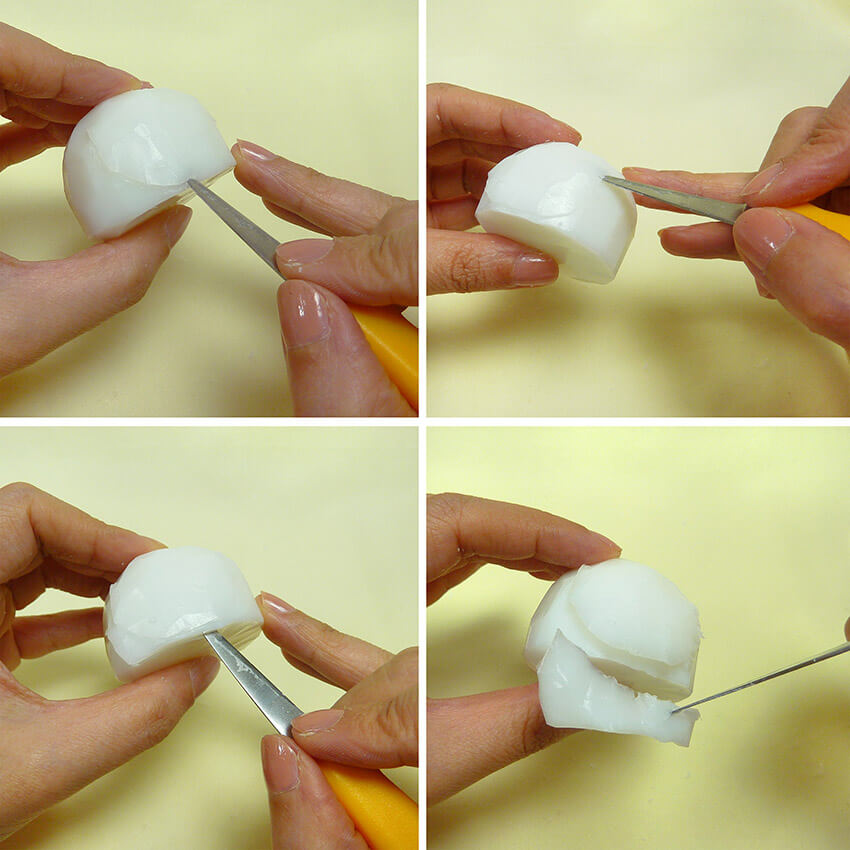
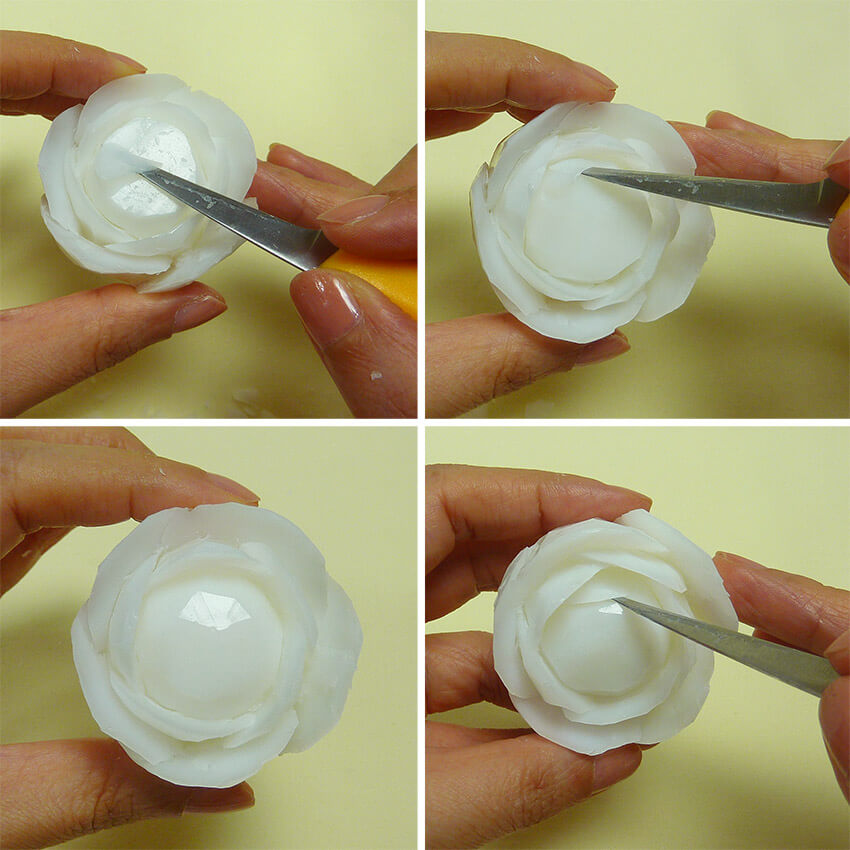
外側部分の5分の1より少し大きく、浅い溝を彫ります。
同様にして、4枚の花びらを彫ります。(それぞれ少し重なるように彫る)
外側の1段目の花びらができました。
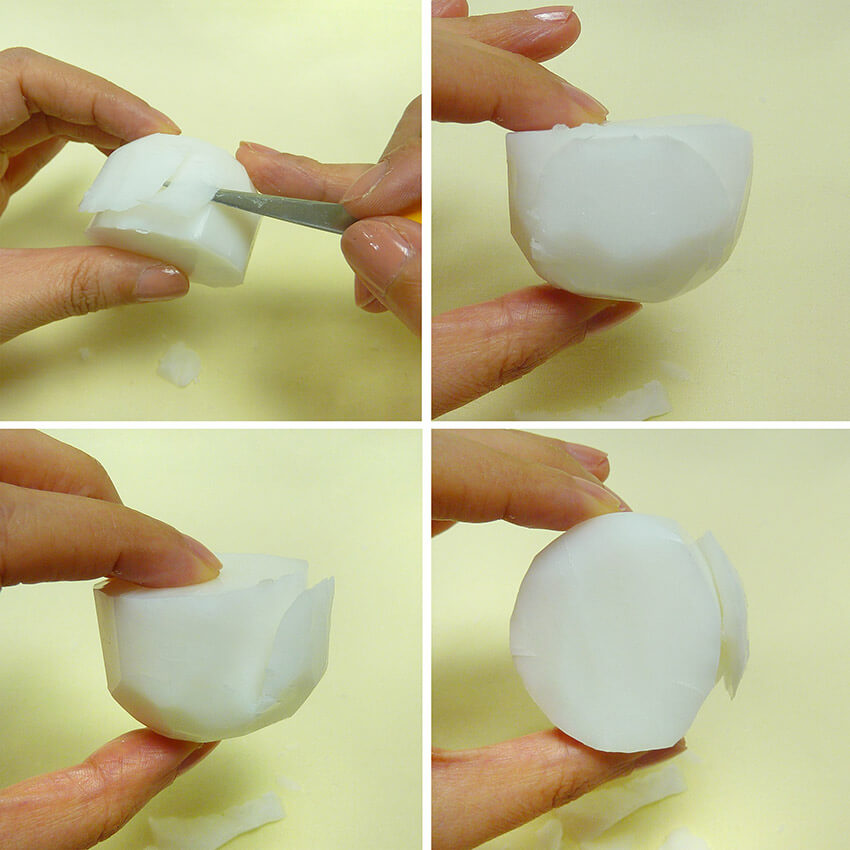
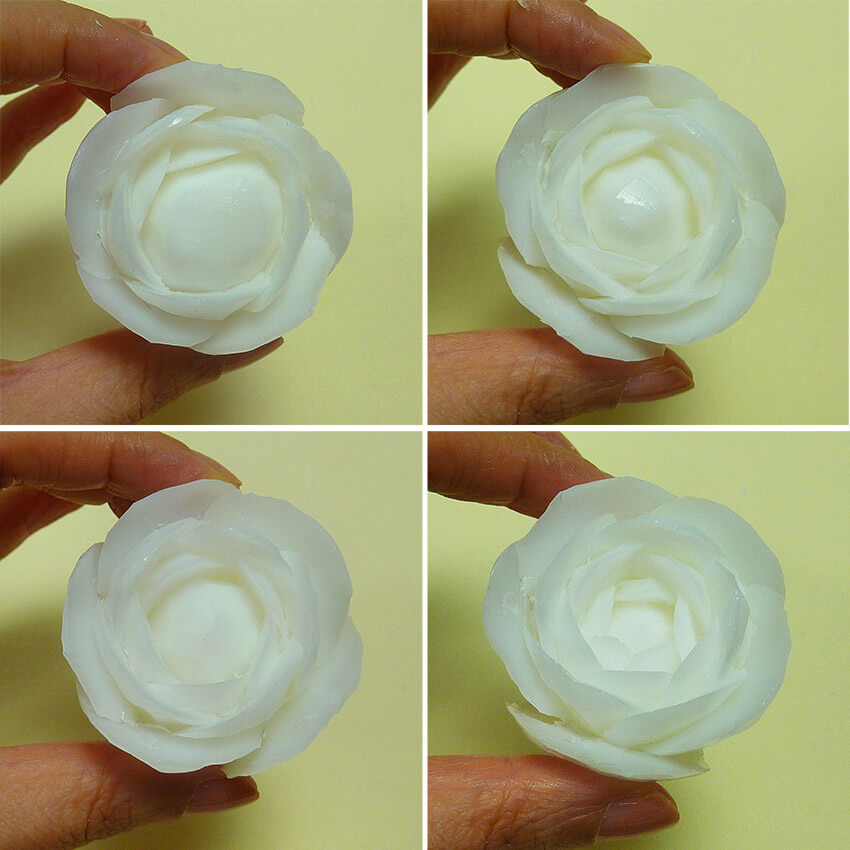
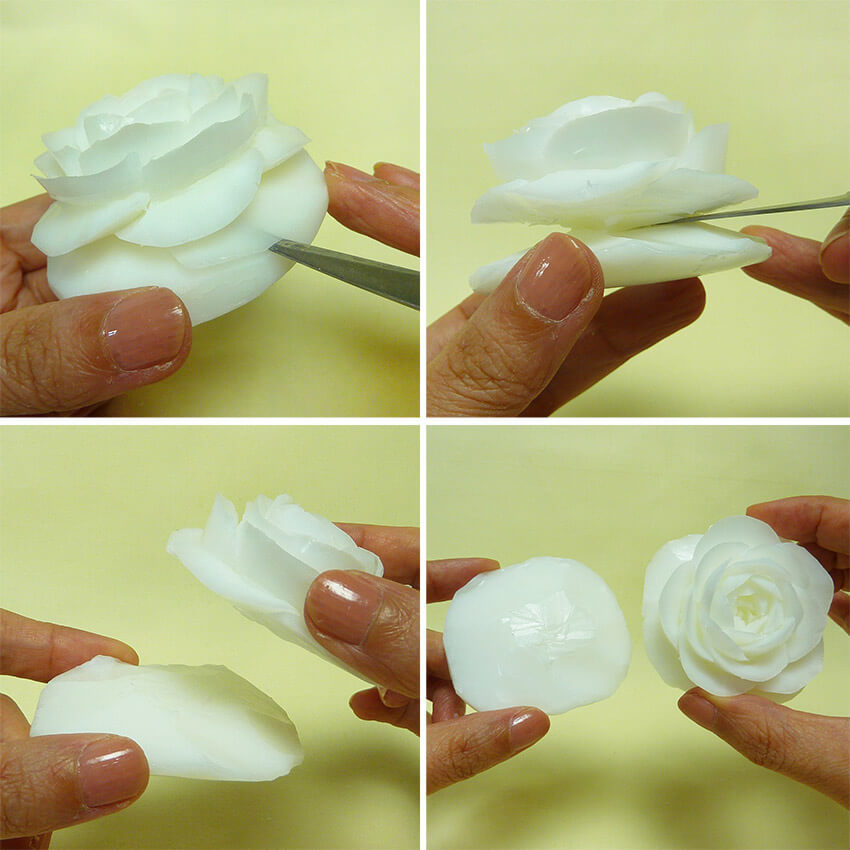
外側2段目の1枚目の花びらを彫ります。1枚目の花びらは、外側1段目の花びらの1枚目と2枚目の間に彫ります。
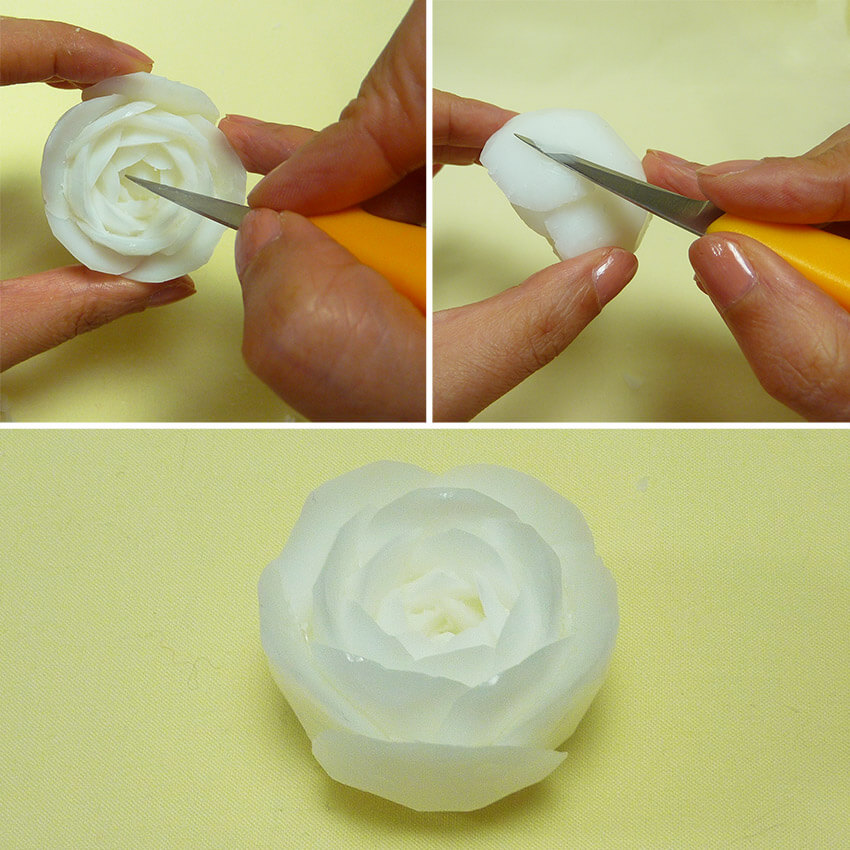
そして、周囲の石鹸を削って滑らかに整えます。
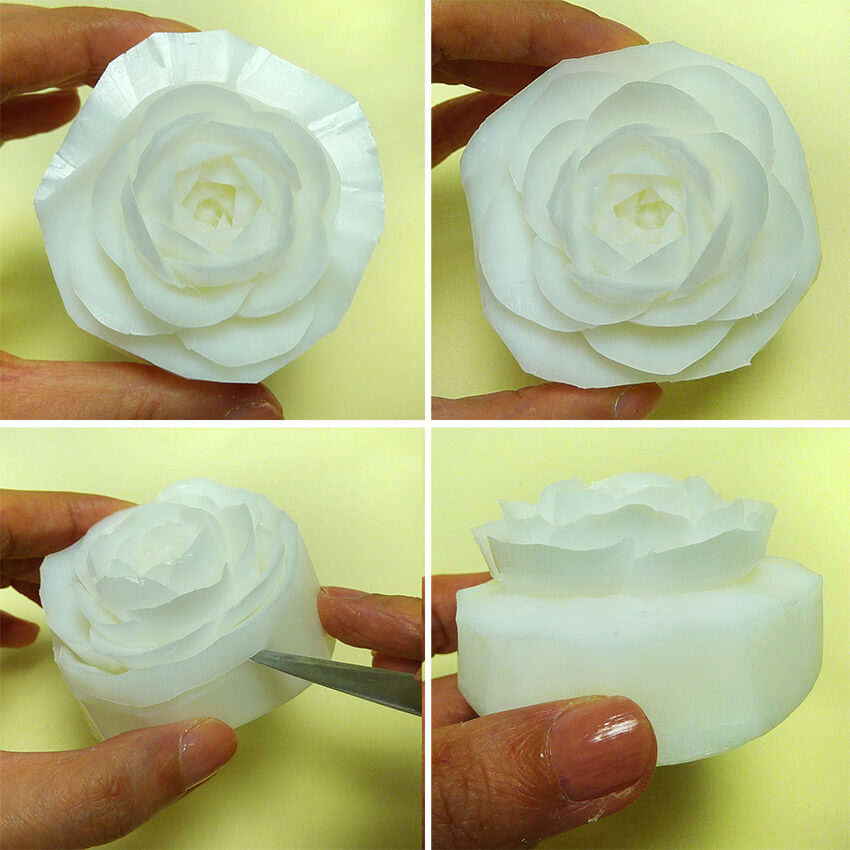
Your 3D rose is done!
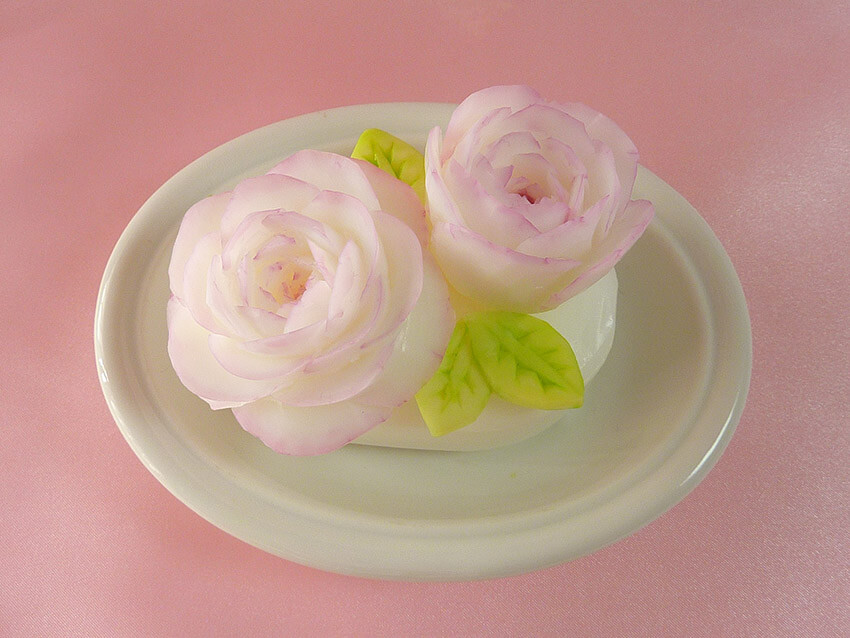
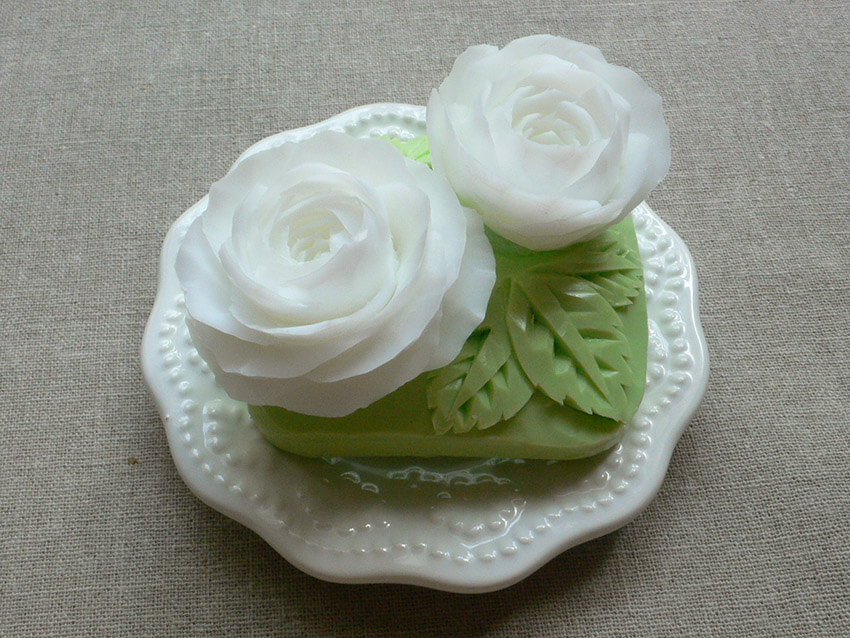
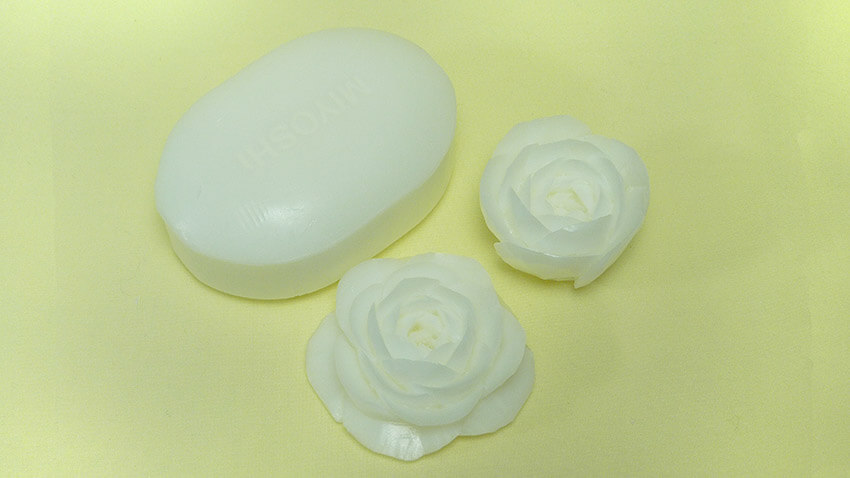
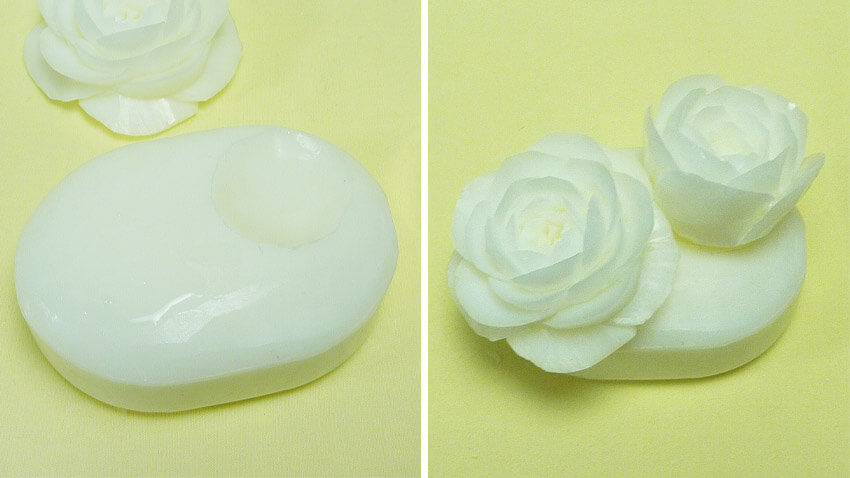
アレンジメント: 2つのバラを乗せた石鹸の作り方
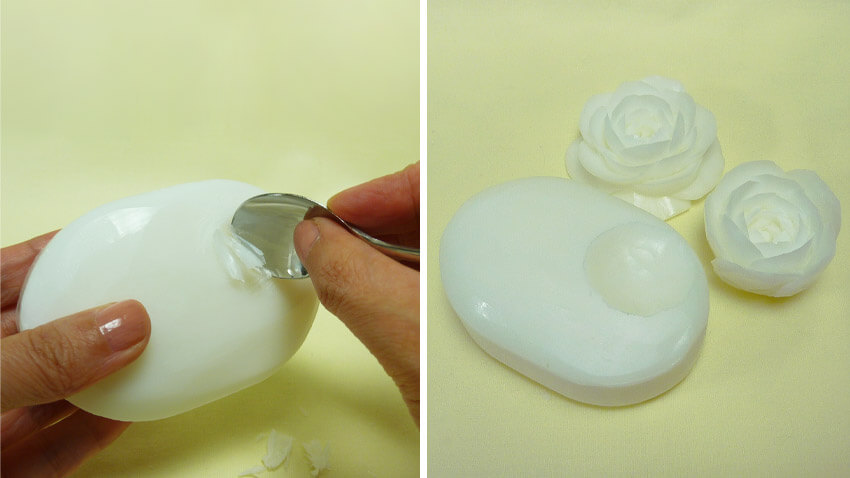
水を塗った凹みにバラを乗せます。バラがくっつくまで指で少し押さえておきます。
葉っぱの裏側を、石鹸の上に付けやすいように斜めにカットしておきます。
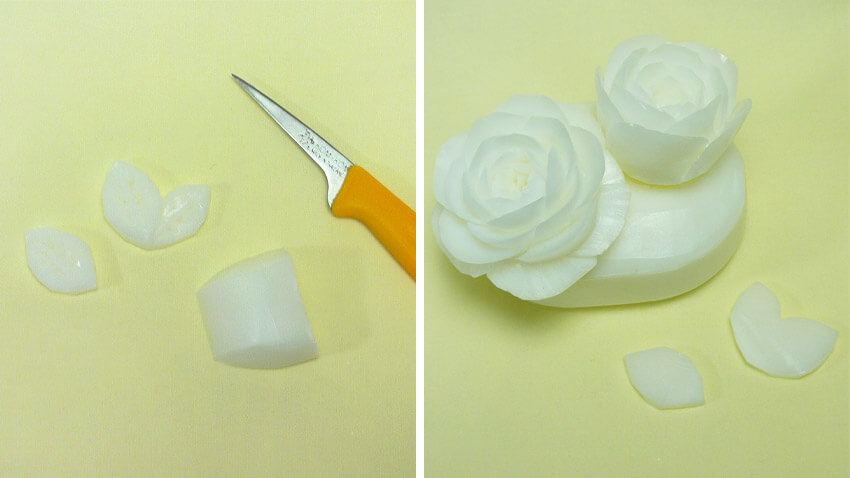
葉っぱがくっつくまで指で少し押さえておきます。
できあがり!

